

Harvest Master Installation
Let's get started.
Follow the guide below & your install should be a breeze!
Step 1
Lay all four sides on the ground. Put a 2x4 underneath all the sides to keep the tabs off the ground

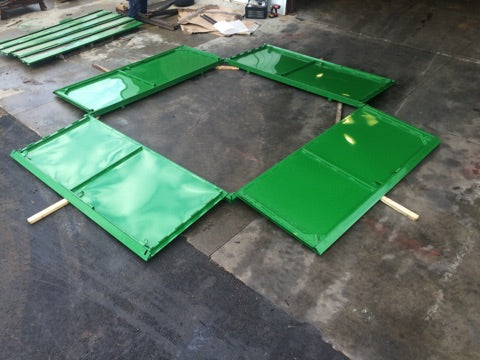
Step 2
Line up the holes in the corners.
(notice welding on top to match corners correctly).
Use 2 5/16 bolts and finger tight.
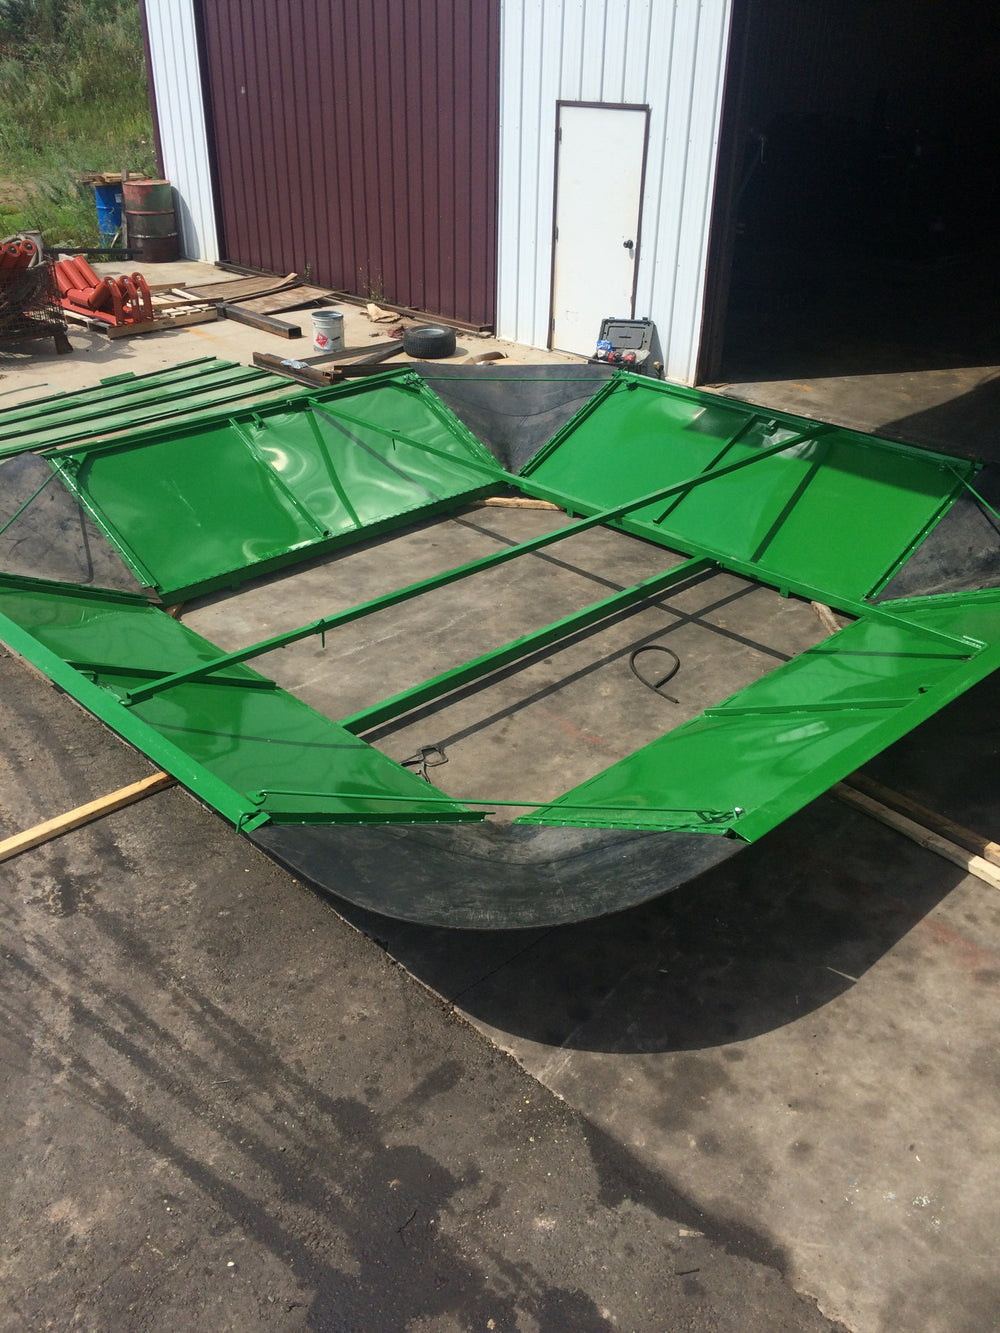
Step 3
Install rods in corners
Step 4
Use rods to connect panels together.
Step 5
Install rubber corners with rods.
Step 6
Cross braces attach to tabs, 90 degree tab goes on auger side of combine, three sides have the straight tab.
For one cross brace shaft is up/tubing down, second cross brace is the opposite.

Step 7
Drop pins to hold braces
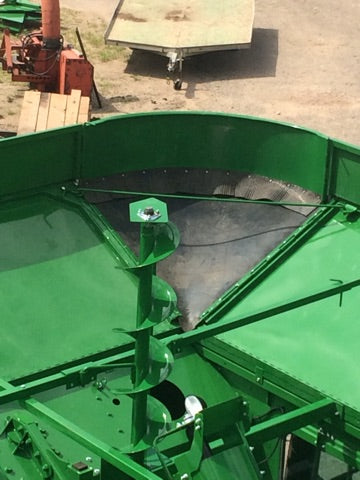
Step 8
Attaching auger to cross braces.

Step 9
To install tip tops, place hinge flange on inside lip, take corner tip top, line-up and drop pins in.
Step 10
Top lift on combine, attach chains to the lift points on center of each panel, make sure.
& thats a wrap.
Nice going - you just installed the Harvest Master.
Time to put your upgraded capacity combine to work!